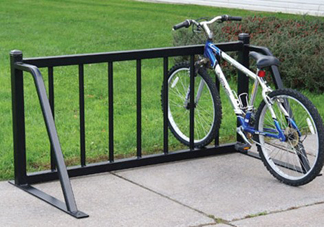
How to Install a Commercial Bike Rack on Your Campus

When purchasing a bike rack for your school, campus or other commercial application, the installation is quite simple and straightforward. There are two different types of mounts for the majority of bike racks - in ground or surface mount.
Different Types of Bike Rack Mounts
Surface Mount Bike Racks
A surface mount bike rack sits on the surface of the ground and comes with pre-drilled holes on the base to screw into the ground.
Installation Guide
- Mark the area at each hole in the surface mount plates and drill holes in the concrete where you previously marked.
- Hammer metal hit anchors or another form of anchor flush into the holes on the mounting plate and into the hole in the ground. Your anchor is now set.
- Repeat this process for each hole drilled and your bike rack will then be secure.
In-ground Bike Racks
An in-ground bike rack features an extension on the bottom that is to be buried under the ground 30-inches deep.
Installation Guide
- The holes can be easily dug using a post-hole digger or auger of at least 8 inches in diameter.
- After digging your holes, prepare concrete that will surround the bike rack post after it is in the ground.
- Put your posts in the ground, pour the concrete, and securely prop up the rack to ensure the concrete cures with the rack properly.
- Optional cover caps can be purchased to cover the mounting hardware at the base of the bike rack. These covers come in two pieces and are screwed together to cover the hardware.
The installation for either type of bike rack can be done by an amateur or seasoned professional. Detailed instructions are included and no experience is required. Add a commercial bike rack to your application today!

